This article shows you how to make High Dynamic Range (HDR) photos, and shows 6 HDR photos I made in minutes with my Panasonic Lumix DMC-LX3. Includes a guide on how to make HDR photos with the Panasonic Lumix DMC-LX3 digital camera.
This article will not give advice on the setting to use for your shots, this is something I always struggled with.
(Update 8 months after this original post: I’m not struggling with getting good shots anymore, after continually experimentation and keeping an eye out for good scenes, the HDR shots are getting better. Take a look at my HDR set on Flickr, all taken with my DMC-LX3).
What I find works best is if there is a large amount of contrast. For example, in the the photo by the river below, the sky was bright but the trees were not. Taking an ordinary photo of this meant that the sky was blown out (too bright) as the auto-focus would meter on the trees. Best way to discover this is just to experiment lots. That being said, I’ve found my most successful photos were those taken at dawn or dusk.
HDR photos taken with a Panasonic Lumix DMC-LX3
First, let’s start with some examples of HDR photos taken with the Panasonic Lumix DMC-LX3. There are a lot of awesome HDR photos to be found on the net. I like to use the HDR method on my favourite personal photos to bring them to life. My HDR photos below have not been Photoshopped, I don’t like the over-saturated look, it stands out too much, so I’m not interested in spot blending or anything similar. My method is to get the photo as good as possible in-camera, take the series of photos and then compose them with HDR software.
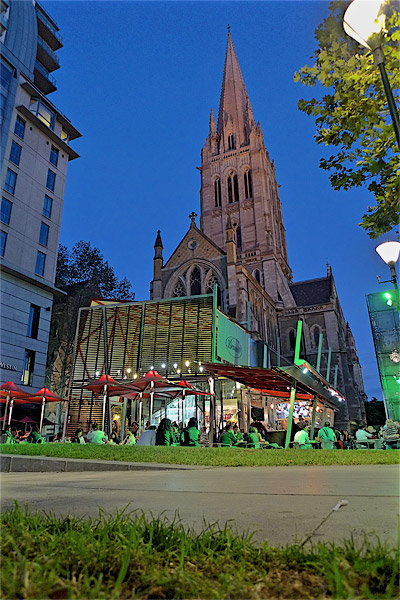
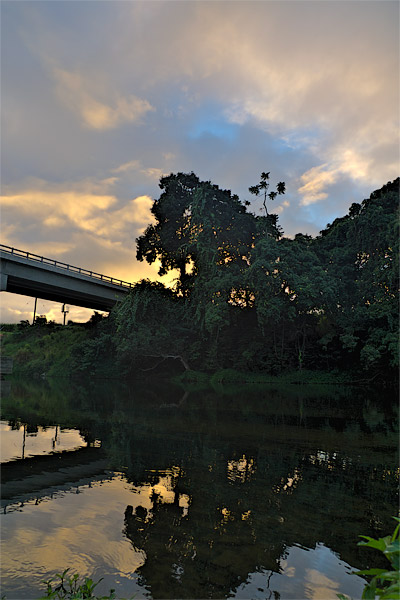
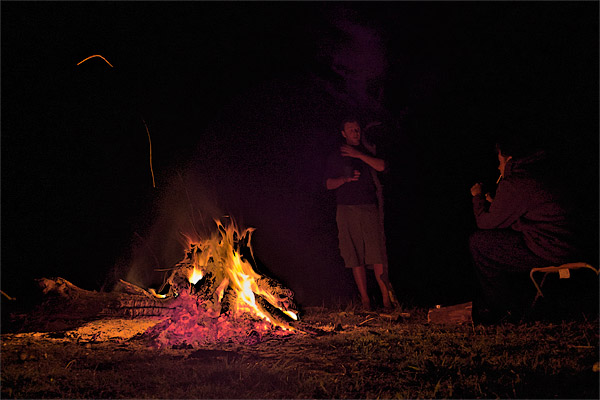
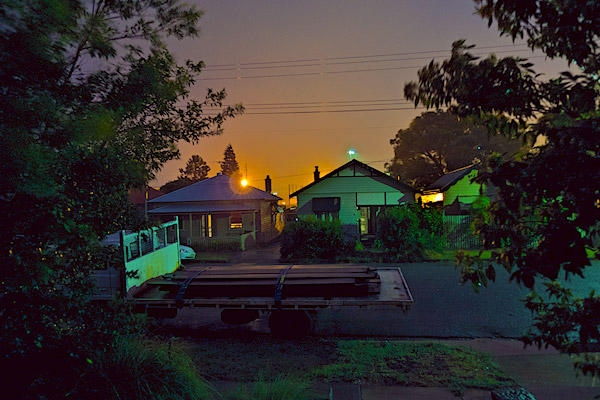
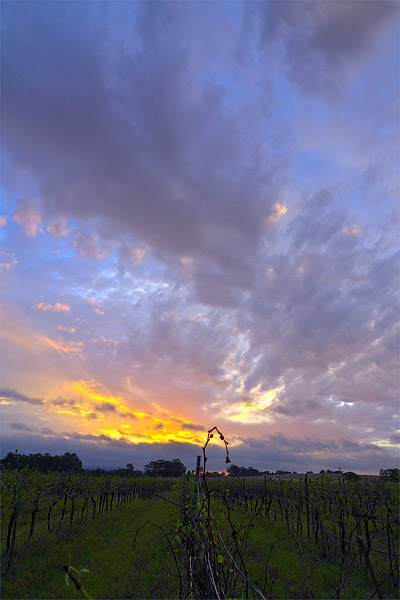
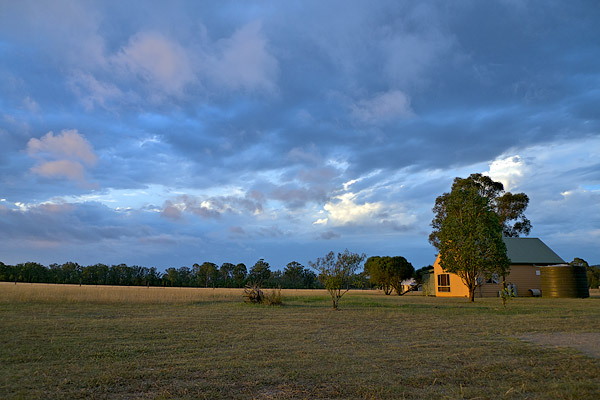
That’s it for the photos, I have taken 2 or 3 other attempts which totally failed (the setting was all wrong). For higher resolution photos, take a look at my Flickr gallery of HDR photos.
(Update 8 months after this original post: I’ve been living in Japan for a year and taken a lot of great HDR photos of some amazing places in Japan. For 20+ more HDR photos, take a look at my HDR set on Flickr, all taken with my DMC-LX3).
Instructions on how to take a HDR photo with a Panasonic Lumix DMC-LX3
Here is my method, it is quite simple yet works time and time again for me.
Part 1: Taking the photo in-camera.
- Set your camera on a tripod or somewhere very sturdy, this is a must and you will discover why later. You cannot just hold the camera with your hands. Most software will have auto-align functionality, but it is always best to get it right in-camera first.
- Once you have your scene ready, set your camera to iA mode and half press the shutter button. Take note of the F number that will appear at the bottom of the screen.
- Switch the setting dial to A for Aperture Priority mode. Then, use the tiny joystick (the Q. MENU control) to set the F number to what you noted in step 1.
- Then press the exposure/up button twice (it is the up arrow, above the MENU/SET button with +/- on it.), until you see AUTO BRACKET along the top of the screen.
- Then press the right arrow button, and set the exposure to somewhere between ± 1 to ± 2.
- Half press the shutter button, this will confirm your settings. You will notice that a new symbol has appear on the right side of the screen with a ± symbol.
- Auto bracket takes 3 photos, one at 0 exposure, one at -1 exposure and one at +1 exposure (if your setting is ± 1). Now this is why you need a tripod, as later you will be merging these photos together, so they need to be the same.
- Press the left button, which has the time symbol on it. This will set the self timer, choose 2 or 10 seconds, it doesn’t really matter. The reason for doing this, is to make sure there is no movement from when you press the shutter release.
- Finally, press the shutter release and 3 photos will be taken.
Part 2: Using HDR software on your computer to merge the photos and produce the final image.
From here, I use a Mac application called Hydra. I’ve tried Photoshop but never with good results, I’ve heard you can use Lightroom, Aperture and more but Hydra is the one that works for me.
(Update 8 months after this original post: When I originally posted this I was using Adobe Photoshop CS3 and the Automate HDR function was poor. Now in Photoshop CS5 the Automate HDR function is very impressive – I don’t use Hydra anymore, but it’s still a great option!).