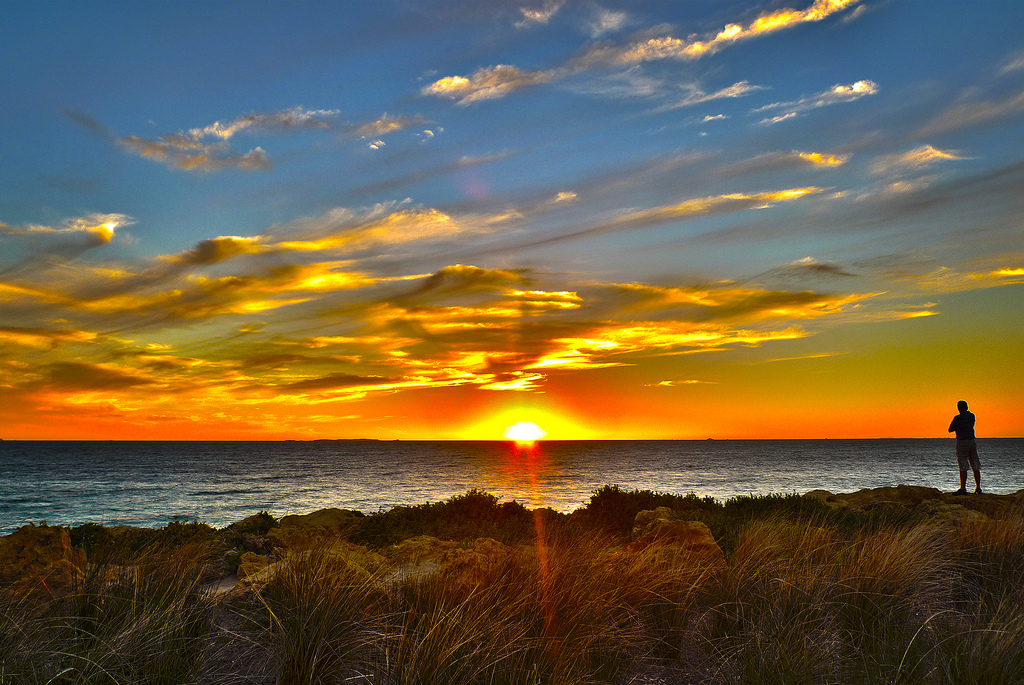
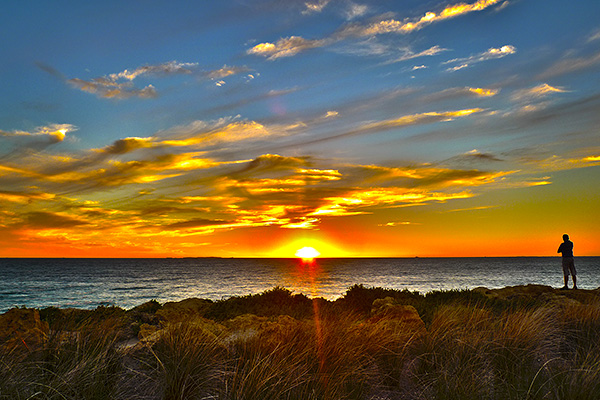
Visiting family in Fremantle and had to take the opportunity of continuing the 30d30m project with a photo of the sun setting on the ocean – something I don’t get to see on the east coast. The sun seems to set quicker when watching it disappear into the ocean.
Sunset at Port Coogee, Western Australia (HDR Photo)
Last year I spent a few months in Fremantle. It was a very unique situation with a few very good mates. It was my first time in Western Australia and I loved the Fremantle area. It was good to be back.
Weekday’s are always hectic: work; yoga; gym; personal projects; special events; and visiting a beach for 30 minutes every day. 30 minutes is only 2.5% of a day, and I’m glad each day that I’ve made the effort to take some time out and visit…
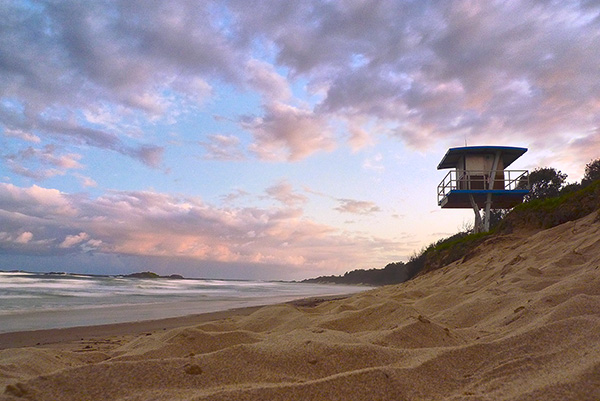
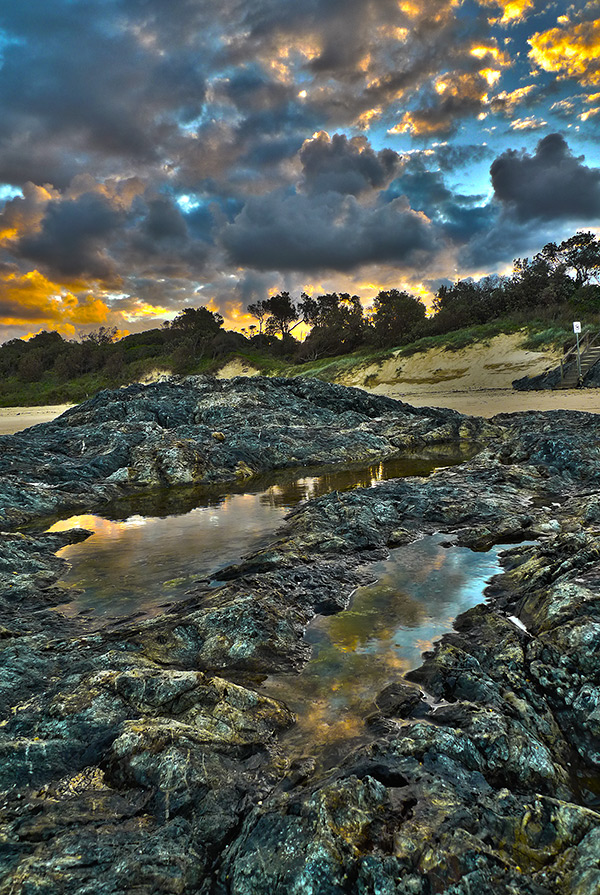
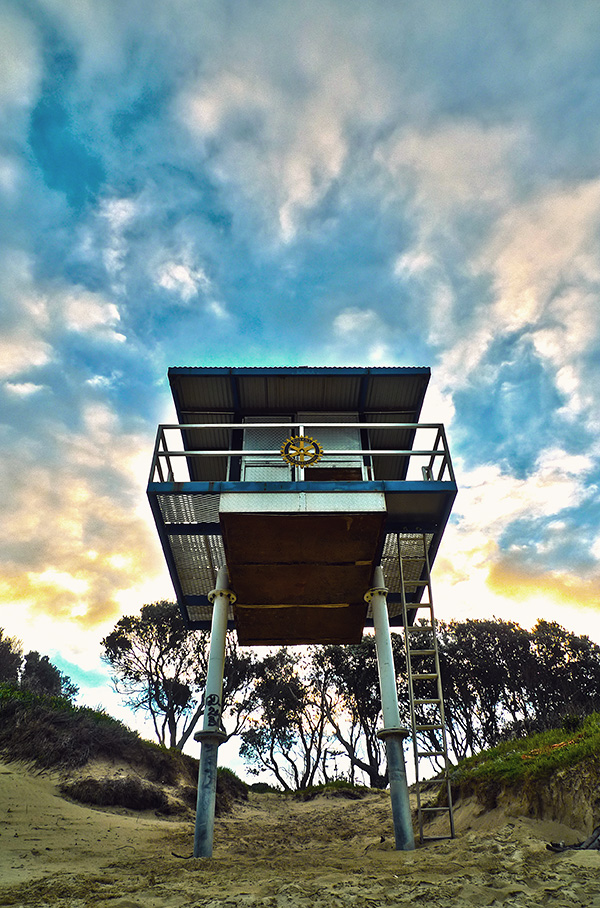
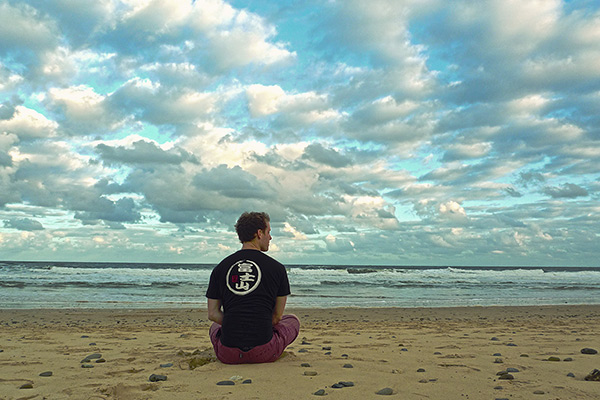
#11: Lifesaving Guard Tower on Sawtell Beach at sunset (HDR Photo)#12: Rocks at the southern end of Sawtell Beach during sunset (HDR Photo)#12: More rocks at Sawtell Beach (HDR Photo)
Muttonbird Island is accessed via the jetty at Coffs Harbour. Not exactly a beach visit. Just behind where I took this photo is the tiny (150m long) Gallow’s Beach and then the north end of Boambee Beach. I still need to visit Boambee Beach…
Being the weekend, I had time to explore beaches a little further from the usual. On Sunday I took a 15 minute drive south to Urunga. A boardwalk follows the breakwater from the caravan park in town all the way to the beach.
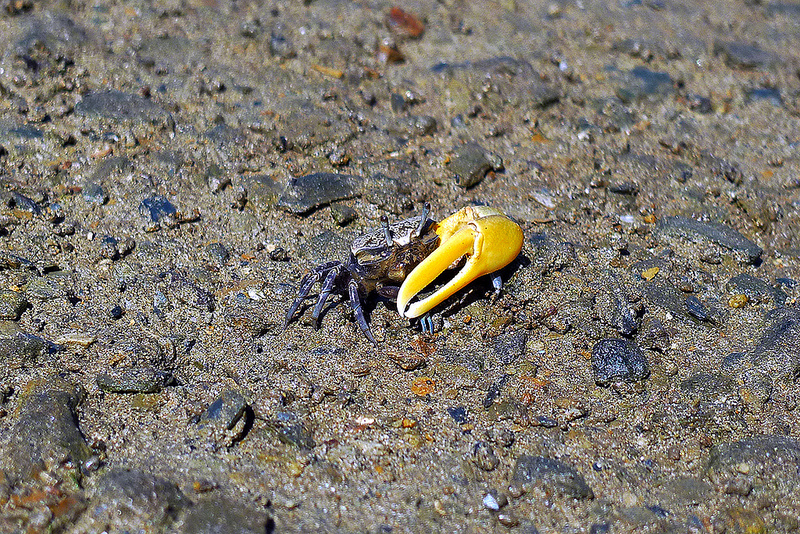
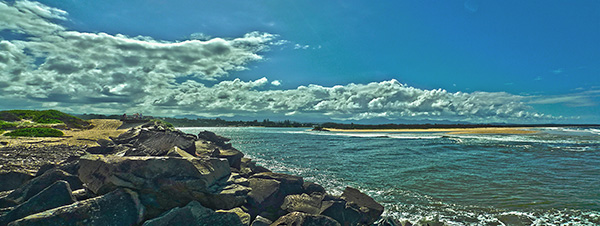
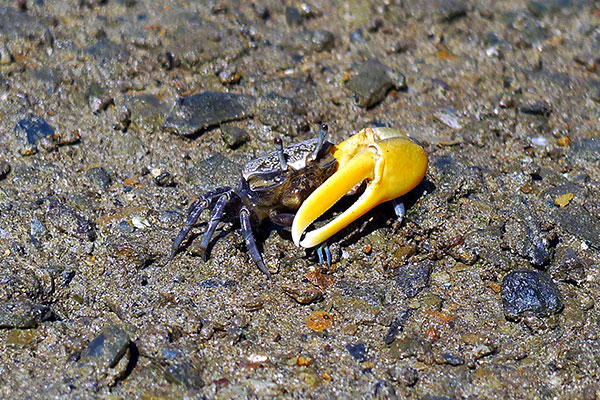
Urunga breakwater. Mylestom Spit is on the right. (HDR Panorama)Male fiddler crab on the mud flat next to the boardwalk.
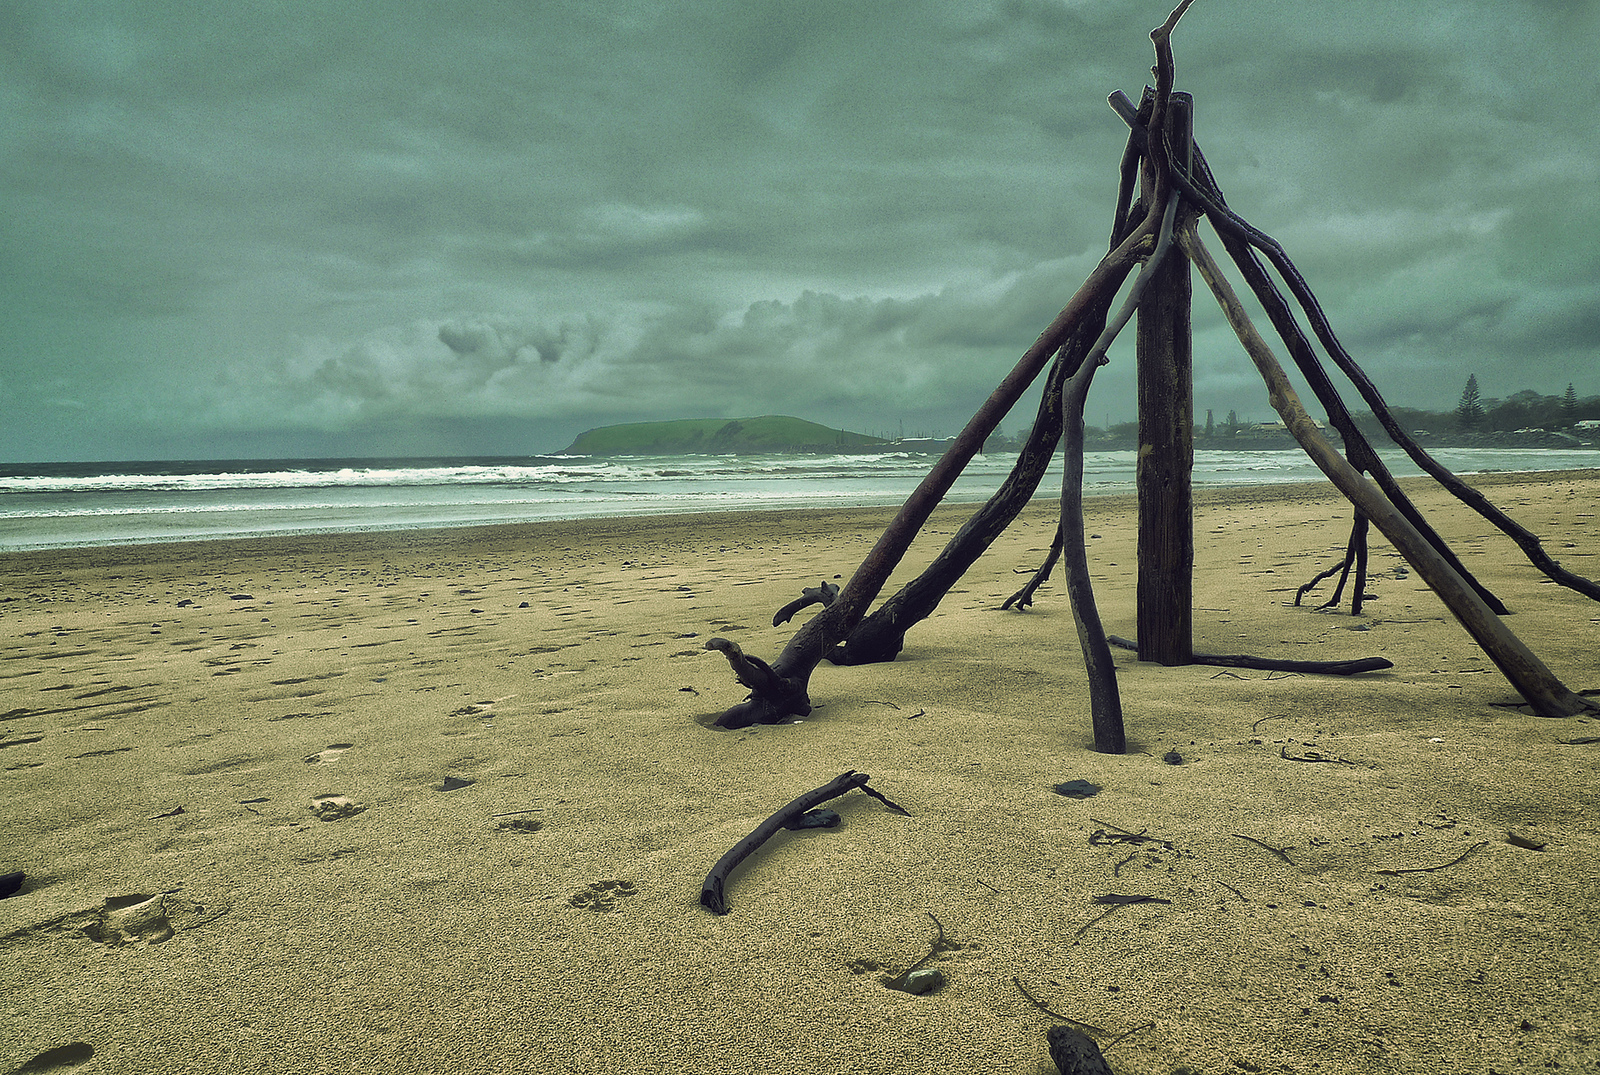
It was a warm day, but the sand on the beach was clogged with piles of driftwood – probably from the recent weeks of storms – and didn’t look very swimmer friendly.
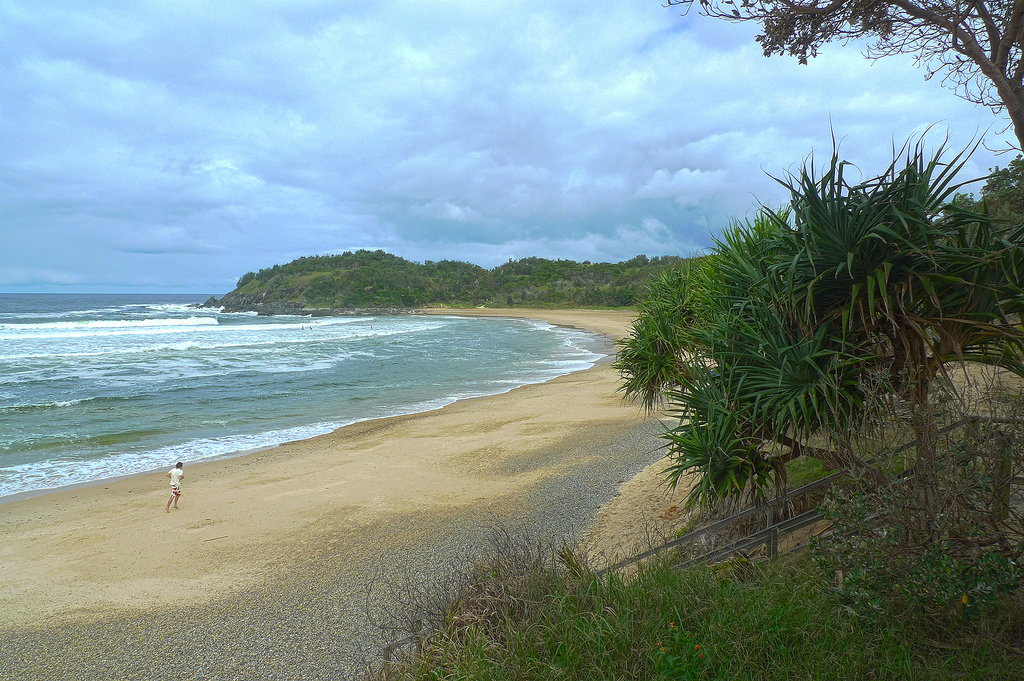
Accessed via the highway directly opposite the Big Banana is the small Digger’s Beach. It’s in the resort area to the north of Coffs Harbour and is a very picturesque little beach.
This photo was taken from a lookout installed by Rotary along the pathway that extends along most of the beaches in the Coffs Harbour area.
From the Rotary lookout at Digger’s Beach
I spotted an interesting headland to the north and went for a walk to try and climb it. After climbing some rocks to the north of Digger’s Beach, I realised I was now on a nudist beach (lots of oldies with their junk out) so promptly turned around and headed back to Digger’s Beach.
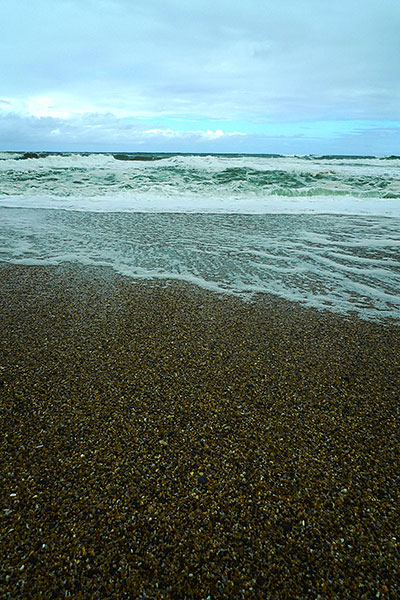
I love the sound of the waves washing over the pebbles strewn across the shoreline. Adds to the meditative state that spending 2.5% of my day at the beach brings.
Looking north up Sawtell Beach from the Sawtell Surf Lifesaving Club
Today it didn’t rain… there was even a spattering of blue sky to be seen. I thoroughly enjoyed just being at the beach today, didn’t stroll more than a few hundred metres, just relished the good weather.
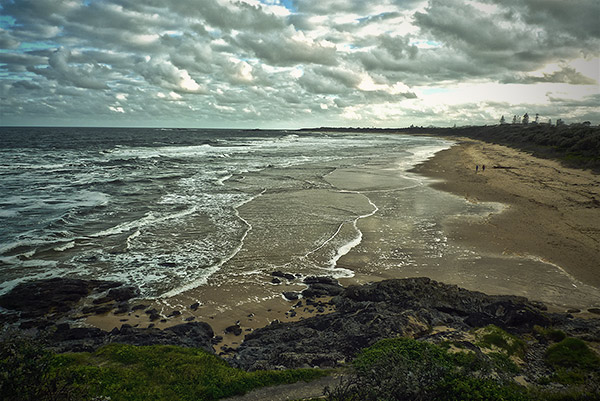
Me.Murray’s Beach looking down towards Sawtell from Boambee Head Lookout.
Rain, heavy at times. That was the forecast for today and that was what we got.
Today I drove towards North Boambee Beach which is accessed via the jetty area, but the Coffs Triathlon was on and the roads at the jetty were diverted.
So that’s day 2 of the 30 days / 30 minutes at the beach project.
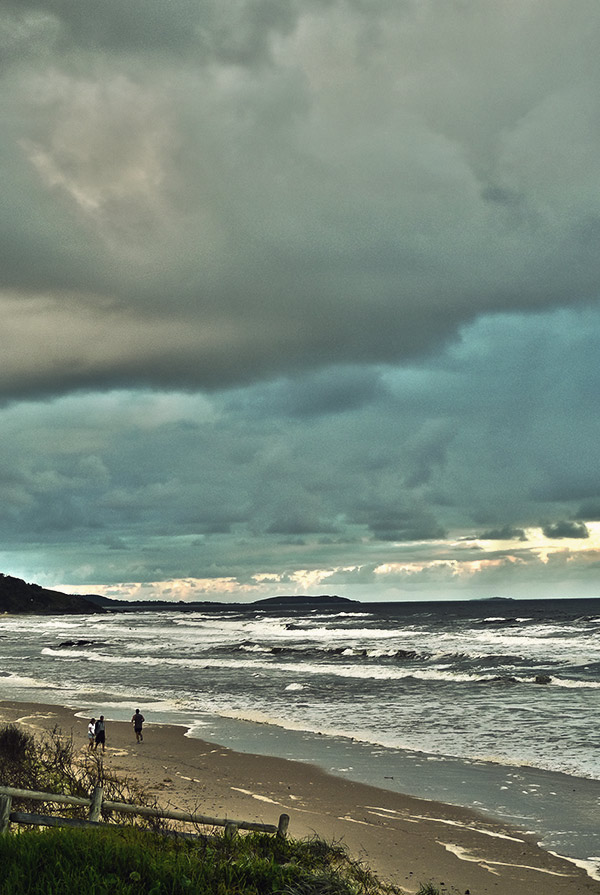
This is 5th week of grey skies and there is only more to come. It started with 3 days of torrential downpour on Australia day long weekend, with multiple severe weather occurrences since.
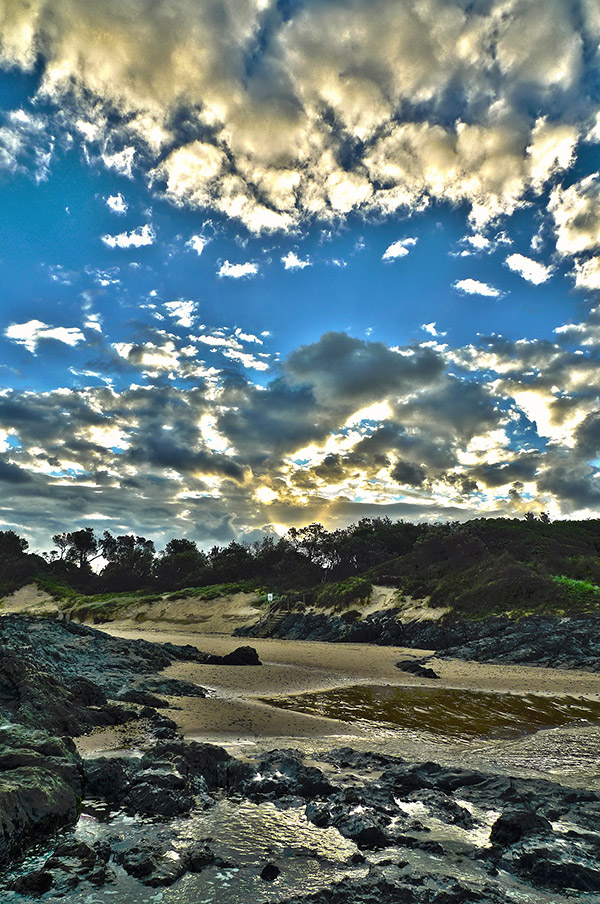
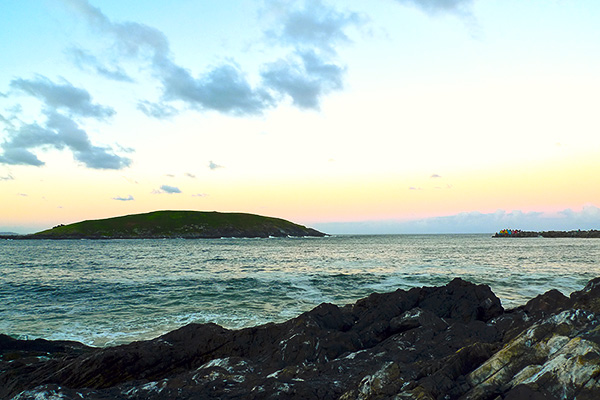
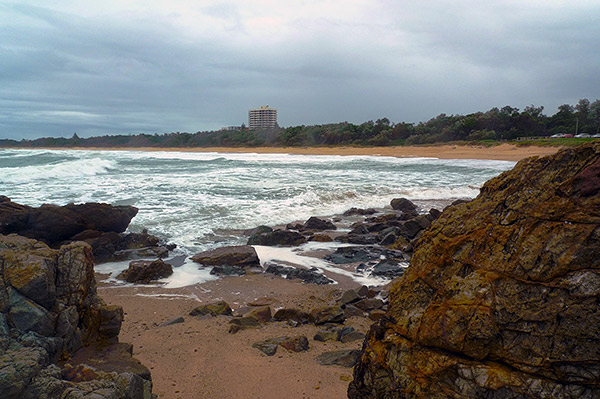
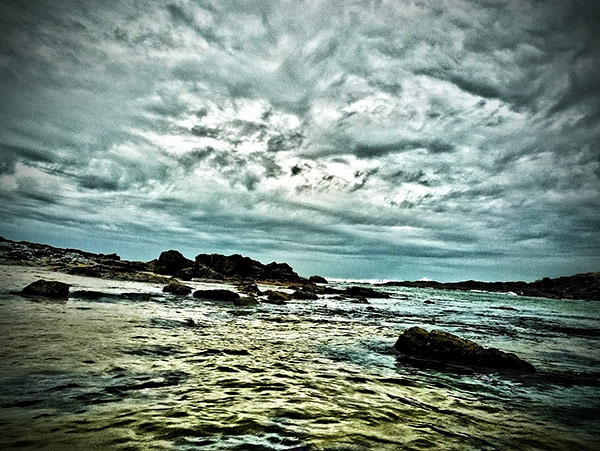
Sawtell Island at Bonville Head.
Headed to the south end of Sawtell Beach, to the start of the coral outcrop area known as Sawtell Island. The rain made a comeback at 7PM… time to head home.
This article shows you how to make High Dynamic Range (HDR) photos, and shows 6 HDR photos I made in minutes with my Panasonic Lumix DMC-LX3. Includes a guide on how to make HDR photos with the Panasonic Lumix DMC-LX3 digital camera.
This article will not give advice on the setting to use for your shots, this is something I always struggled with.
(Update 8 months after this original post: I’m not struggling with getting good shots anymore, after continually experimentation and keeping an eye out for good scenes, the HDR shots are getting better. Take a look at my HDR set on Flickr, all taken with my DMC-LX3).
What I find works best is if there is a large amount of contrast. For example, in the the photo by the river below, the sky was bright but the trees were not. Taking an ordinary photo of this meant that the sky was blown out (too bright) as the auto-focus would meter on the trees. Best way to discover this is just to experiment lots. That being said, I’ve found my most successful photos were those taken at dawn or dusk.
HDR photos taken with a Panasonic Lumix DMC-LX3
First, let’s start with some examples of HDR photos taken with the Panasonic Lumix DMC-LX3. There are a lot of awesome HDR photos to be found on the net. I like to use the HDR method on my favourite personal photos to bring them to life. My HDR photos below have not been Photoshopped, I don’t like the over-saturated look, it stands out too much, so I’m not interested in spot blending or anything similar. My method is to get the photo as good as possible in-camera, take the series of photos and then compose them with HDR software.
This HDR photo of St Pauls cathedral in Melbourne was the first one I made.The river at dawn near the Gordonvale rest area in Far North Queensland.The lads around the fire on the Australia van road trip.From the front verandah, a night shot of the street.The vineyard at dusk.The setting sun shining on a barn at the vineyard.
That’s it for the photos, I have taken 2 or 3 other attempts which totally failed (the setting was all wrong). For higher resolution photos, take a look at my Flickr gallery of HDR photos.
(Update 8 months after this original post: I’ve been living in Japan for a year and taken a lot of great HDR photos of some amazing places in Japan. For 20+ more HDR photos, take a look at my HDR set on Flickr, all taken with my DMC-LX3).
Instructions on how to take a HDR photo with a Panasonic Lumix DMC-LX3
Here is my method, it is quite simple yet works time and time again for me.
Part 1: Taking the photo in-camera.
Set your camera on a tripod or somewhere very sturdy, this is a must and you will discover why later. You cannot just hold the camera with your hands. Most software will have auto-align functionality, but it is always best to get it right in-camera first.
Once you have your scene ready, set your camera to iA mode and half press the shutter button. Take note of the F number that will appear at the bottom of the screen.
Switch the setting dial to A for Aperture Priority mode. Then, use the tiny joystick (the Q. MENU control) to set the F number to what you noted in step 1.
Then press the exposure/up button twice (it is the up arrow, above the MENU/SET button with +/- on it.), until you see AUTO BRACKET along the top of the screen.
Then press the right arrow button, and set the exposure to somewhere between ± 1 to ± 2.
Half press the shutter button, this will confirm your settings. You will notice that a new symbol has appear on the right side of the screen with a ± symbol.
Auto bracket takes 3 photos, one at 0 exposure, one at -1 exposure and one at +1 exposure (if your setting is ± 1). Now this is why you need a tripod, as later you will be merging these photos together, so they need to be the same.
Press the left button, which has the time symbol on it. This will set the self timer, choose 2 or 10 seconds, it doesn’t really matter. The reason for doing this, is to make sure there is no movement from when you press the shutter release.
Finally, press the shutter release and 3 photos will be taken.
Part 2: Using HDR software on your computer to merge the photos and produce the final image.
From here, I use a Mac application called Hydra. I’ve tried Photoshop but never with good results, I’ve heard you can use Lightroom, Aperture and more but Hydra is the one that works for me.
(Update 8 months after this original post: When I originally posted this I was using Adobe Photoshop CS3 and the Automate HDR function was poor. Now in Photoshop CS5 the Automate HDR function is very impressive – I don’t use Hydra anymore, but it’s still a great option!).