Driving Australia – Fremantle, WA to Newcastle, NSW

After doing a van trip in North Queensland a couple of years ago, I’d always wanted to drive and camp across the great Nullabor desert of south-central and south-western Australia. Leaving Fremantle (near Perth) in mid May, my good friend Dave and I piled ourselves and possessions into a Lancer sedan for one of our most unprepared and unique camping trips yet.

Here’s what you’d see if you were driving from Perth to Sydney.

Eyre Highway WA
This is about as tall as the trees get along the highway in the Nullabor Desert.

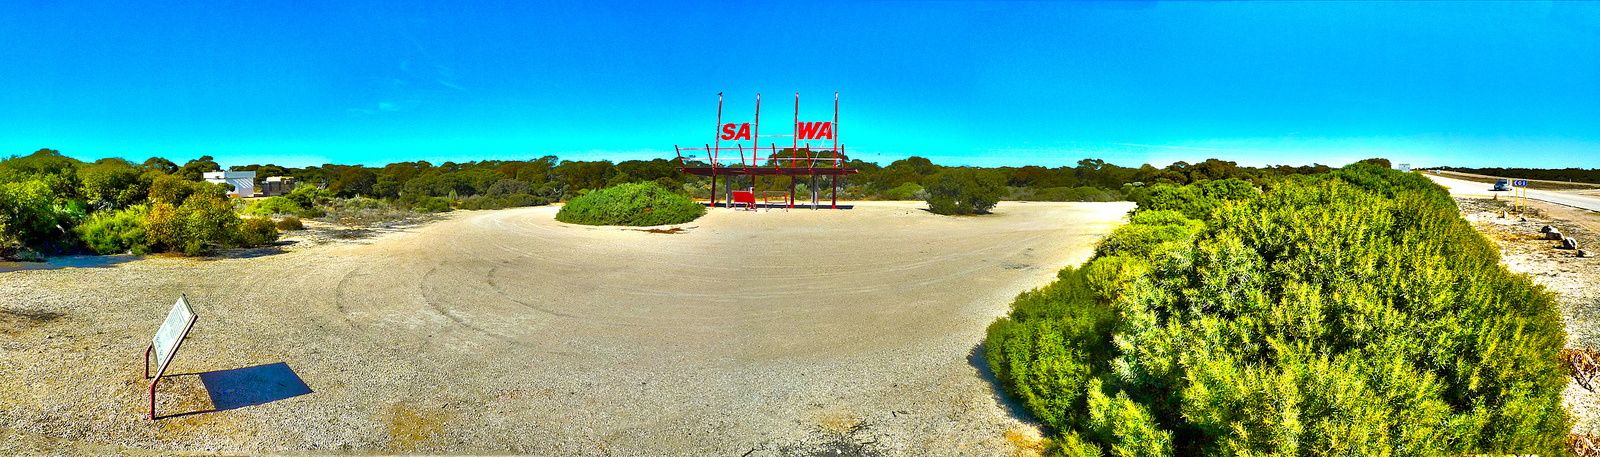
The 5,000km trip was a very indirect way of getting to Newcastle. Opting to drive an extra 1,000km for a bit of tourist action, from Fremantle we drove the: Eyre Highway to Port Augusta SA (route A1 – along Highway 1, the longest national highway in the world); Princes Highway to Adelaide (A1); Western Highway to Melbourne (A8/M8); Princes Highway (A1) to Bega NSW; Princes Highway (A1) to Sydney NSW; and finally the F3 Sydney to Newcastle Freeway.

Road sign for 90 Mile Straight in the Nullabor Desert Australia
Straight road in south-central WA.
Oversize Semi Towing a Mining Truck in the Nullabor Desert
Most days we had to get off the highway to let these super-over-size trucks pass.
Roadhouse on the Eyre Highway WA - Caiguna Roadhouse
Roadhouses dot the highway every 200-300 km. This one is at Caiguna, WA.
Fuel pump at a roadhouse on the Nullabor Desert
198c per litre was the most we paid for fuel
Nullabor Desert at Night - Orions Belt
A noisy photo of Orion’s Belt looking out from a campsite of ours in the desert.

Even though this was one of our most unprepared camping trips – we’d camped for months before and were on a whole different level of preparedness – we had a reasonably comfy time camping with little more than a tent/swag each, portable gas cooker and one huge esky.

One note on preparedness – bring your own water, about 4 litres per day was enough for us. Roadhouses along the Nullabor won’t allow you to fill up water.

Being late autumn and coming into winter, the days were crisp (around 20 degrees celsius) but the nights were very cold. We both had 5 degree rated sleeping bags, and needed very warm clothes and extra blankets to stay warm through the night.

We lit a fire every night, however with the sparseness of trees and their small size, it took much longer than usual to collect the necessary fuel for fire. I can’t confirm if it’s legal or not – but we basically camped anywhere. Most nights we would find a rest area – usually we looked for one that at least had a picnic table – and camped about 100m from the highway.

RFDS - Emergency Airstrip on the Eyre Highway in WA
The Royal Flying Doctor Service sometimes uses the highway as an airstrip.
Temperamentally tumultuous pterodactyl Terry twice told terrifying tales towards true tonal termination.
Border Village roadhouse on the SA/WA border
The big roo welcomes you to WA at Border Village – on the other side of the roadhouse is SA.
Panorama photo of the SA/WA border
SA/WA border at Border Village. Click image for high-res version.
Unique Australian Road Sign Nullabor
After all the warnings – we saw only a couple of eagles and one dingo in the desert.

In South Australia the Eyre Highway touches the coastline and the days of endless desert are broken with some amazing views. A lookout at The Great Australian Bight Marine Park is the first place to visit the coast when heading from west to east.

Great Australian Bight Marine Park
Panorama of The Great Australian Bight Marine Park. Click image for high-res version.

Of all the views of the coast – the Bunda Cliffs are the most impressive. Jutting out along the Bight – for what seems an eternity – catch the best glimpse at the most westerly lookout along the highway. If you want to see it, plan ahead or get a map as the sign posts can be easy to miss.

Panorama of the western part of the Bunda Cliffs. Click image for high-res version.

After 3 days of desert camping, we stayed at a caravan park in Ceduna SA (the first real town you’ll encounter since Norseman – 1200km back towards Perth).

Ceduna Shelly Beach Caravan Park
Ceduna Shelly Beach Caravan Park at sunrise.
Kimba SA and the Big Galah
Kimba, 450km west of Adelaide is halfway across Australia – our 4th day of driving.
Good to see a few wind power farms when both approaching and departing Adelaide.

On the 4th day we reached Adelaide. It was a Tuesday night and the first time either of us had visited – we attempted some shenanigans until the doldrum of a cold country-city night moved us to rest.

Terry kept his tantalising tenue tightly targeted at bigger things…

Terry the Pterodactyl in Adelaide
Pterodactyl Terry dazzled by the Adelaide city lights.

After 5 days of driving we enjoyed a placid night with Dave’s friends in Melbourne. I used to live in Melbourne and it felt great to get back to my favourite Australian city – even for one night.

On the way to Sydney from Melbourne, we stayed a night at my Dad’s place – an old butter factory – just outside of Bega on the NSW South Coast.

HDR photo of morning fog and green hills at sunrise on a cloudy day near Bega NSW.
Stunning sunrise views on a very chilly morning. Click image for high-res HDR.
Goat, morning clouds, fog and green fields at sunrise on the NSW South Coast.
Goats are a must for land-owners. Click image for high-res HDR.

After Bega we arrived in Sydney to really relax. We spent a few days here, visiting friends and generally enjoying the comforts that come with living under a roof. It took 7 days of driving to get to Sydney, driving between 500 and 800km per day.

Not to degrade the enjoyability of the journey, I’d love to do it again and take twice the amount of time to visit some of the amazing places along the way.

HDR photography with Panasonic Lumix DMC-LX3

This article shows you how to make High Dynamic Range (HDR) photos, and shows 6 HDR photos I made in minutes with my Panasonic Lumix DMC-LX3. Includes a guide on how to make HDR photos with the Panasonic Lumix DMC-LX3 digital camera.

This article will not give advice on the setting to use for your shots, this is something I always struggled with.

(Update 8 months after this original post: I’m not struggling with getting good shots anymore, after continually experimentation and keeping an eye out for good scenes, the HDR shots are getting better. Take a look at my HDR set on Flickr, all taken with my DMC-LX3).

What I find works best is if there is a large amount of contrast. For example, in the the photo by the river below, the sky was bright but the trees were not. Taking an ordinary photo of this meant that the sky was blown out (too bright) as the auto-focus would meter on the trees. Best way to discover this is just to experiment lots. That being said, I’ve found my most successful photos were those taken at dawn or dusk.

HDR photos taken with a Panasonic Lumix DMC-LX3

First, let’s start with some examples of HDR photos taken with the Panasonic Lumix DMC-LX3. There are a lot of awesome HDR photos to be found on the net. I like to use the HDR method on my favourite personal photos to bring them to life. My HDR photos below have not been Photoshopped, I don’t like the over-saturated look, it stands out too much, so I’m not interested in spot blending or anything similar. My method is to get the photo as good as possible in-camera, take the series of photos and then compose them with HDR software.

HDR photo of St Pauls cathedral in Melbourne
This HDR photo of St Pauls cathedral in Melbourne was the first one I made.
HDR photo of the river at dawn
The river at dawn near the Gordonvale rest area in Far North Queensland.
HDR photo of campfire
The lads around the fire on the Australia van road trip.
HDR photo of the street at night
From the front verandah, a night shot of the street.
HDR photo of a vineyard in the Hunter Valley of NSW.
The vineyard at dusk.
HDR photo of a barn in the Hunter Valley of NSW.
The setting sun shining on a barn at the vineyard.

That’s it for the photos, I have taken 2 or 3 other attempts which totally failed (the setting was all wrong). For higher resolution photos, take a look at my Flickr gallery of HDR photos.

(Update 8 months after this original post: I’ve been living in Japan for a year and taken a lot of great HDR photos of some amazing places in Japan. For 20+ more HDR photos, take a look at my HDR set on Flickr, all taken with my DMC-LX3).

Instructions on how to take a HDR photo with a Panasonic Lumix DMC-LX3

Here is my method, it is quite simple yet works time and time again for me.

Part 1: Taking the photo in-camera.

  1. Set your camera on a tripod or somewhere very sturdy, this is a must and you will discover why later. You cannot just hold the camera with your hands. Most software will have auto-align functionality, but it is always best to get it right in-camera first.
  2. Once you have your scene ready, set your camera to iA mode and half press the shutter button. Take note of the F number that will appear at the bottom of the screen.
  3. Switch the setting dial to A for Aperture Priority mode. Then, use the tiny joystick (the Q. MENU control) to set the F number to what you noted in step 1.
  4. Then press the exposure/up button twice (it is the up arrow, above the MENU/SET button with +/- on it.), until you see AUTO BRACKET along the top of the screen.
  5. Then press the right arrow button, and set the exposure to somewhere between ± 1 to ± 2.
  6. Half press the shutter button, this will confirm your settings. You will notice that a new symbol has appear on the right side of the screen with a ± symbol.
  7. Auto bracket takes 3 photos, one at 0 exposure, one at -1 exposure and one at +1 exposure (if your setting is ± 1). Now this is why you need a tripod, as later you will be merging these photos together, so they need to be the same.
  8. Press the left button, which has the time symbol on it. This will set the self timer, choose 2 or 10 seconds, it doesn’t really matter. The reason for doing this, is to make sure there is no movement from when you press the shutter release.
  9. Finally, press the shutter release and 3 photos will be taken.

Part 2: Using HDR software on your computer to merge the photos and produce the final image.

From here, I use a Mac application called Hydra. I’ve tried Photoshop but never with good results, I’ve heard you can use Lightroom, Aperture and more but Hydra is the one that works for me.

(Update 8 months after this original post: When I originally posted this I was using Adobe Photoshop CS3 and the Automate HDR function was poor. Now in Photoshop CS5 the Automate HDR function is very impressive – I don’t use Hydra anymore, but it’s still a great option!).